After our amazing experience learning how to cook Vietnamese food in Hoi An (we loved it so much we wrote two posts about our experience – Chefs for a Day: Vietnamese Cooking Class Part I and Part II), we had to do something similar in Thailand. We’ve already gushed over how much we enjoy Thai food, we had to learn how to make some ourselves. Plus Carlos loves pad thai too much. We joked that he learned how to massage for me, so I better learn how to cook pad thai for him (I told him he should learn for himself).
We chose Silom Thai Cooking School for our Thai cooking class mostly due to its great value – more dishes for less cost (price per person was 1000 baht or USD 31). They had cooking classes every day, three times a day, so it was super easy to sign up and get started. The four-hour Thai cooking class included a market tour, and demonstrations of 5-6 dishes that we cooked ourselves and enjoyed afterwards. It was most fitting that they recommended us not to eat a heavy meal beforehand.
Market Tour
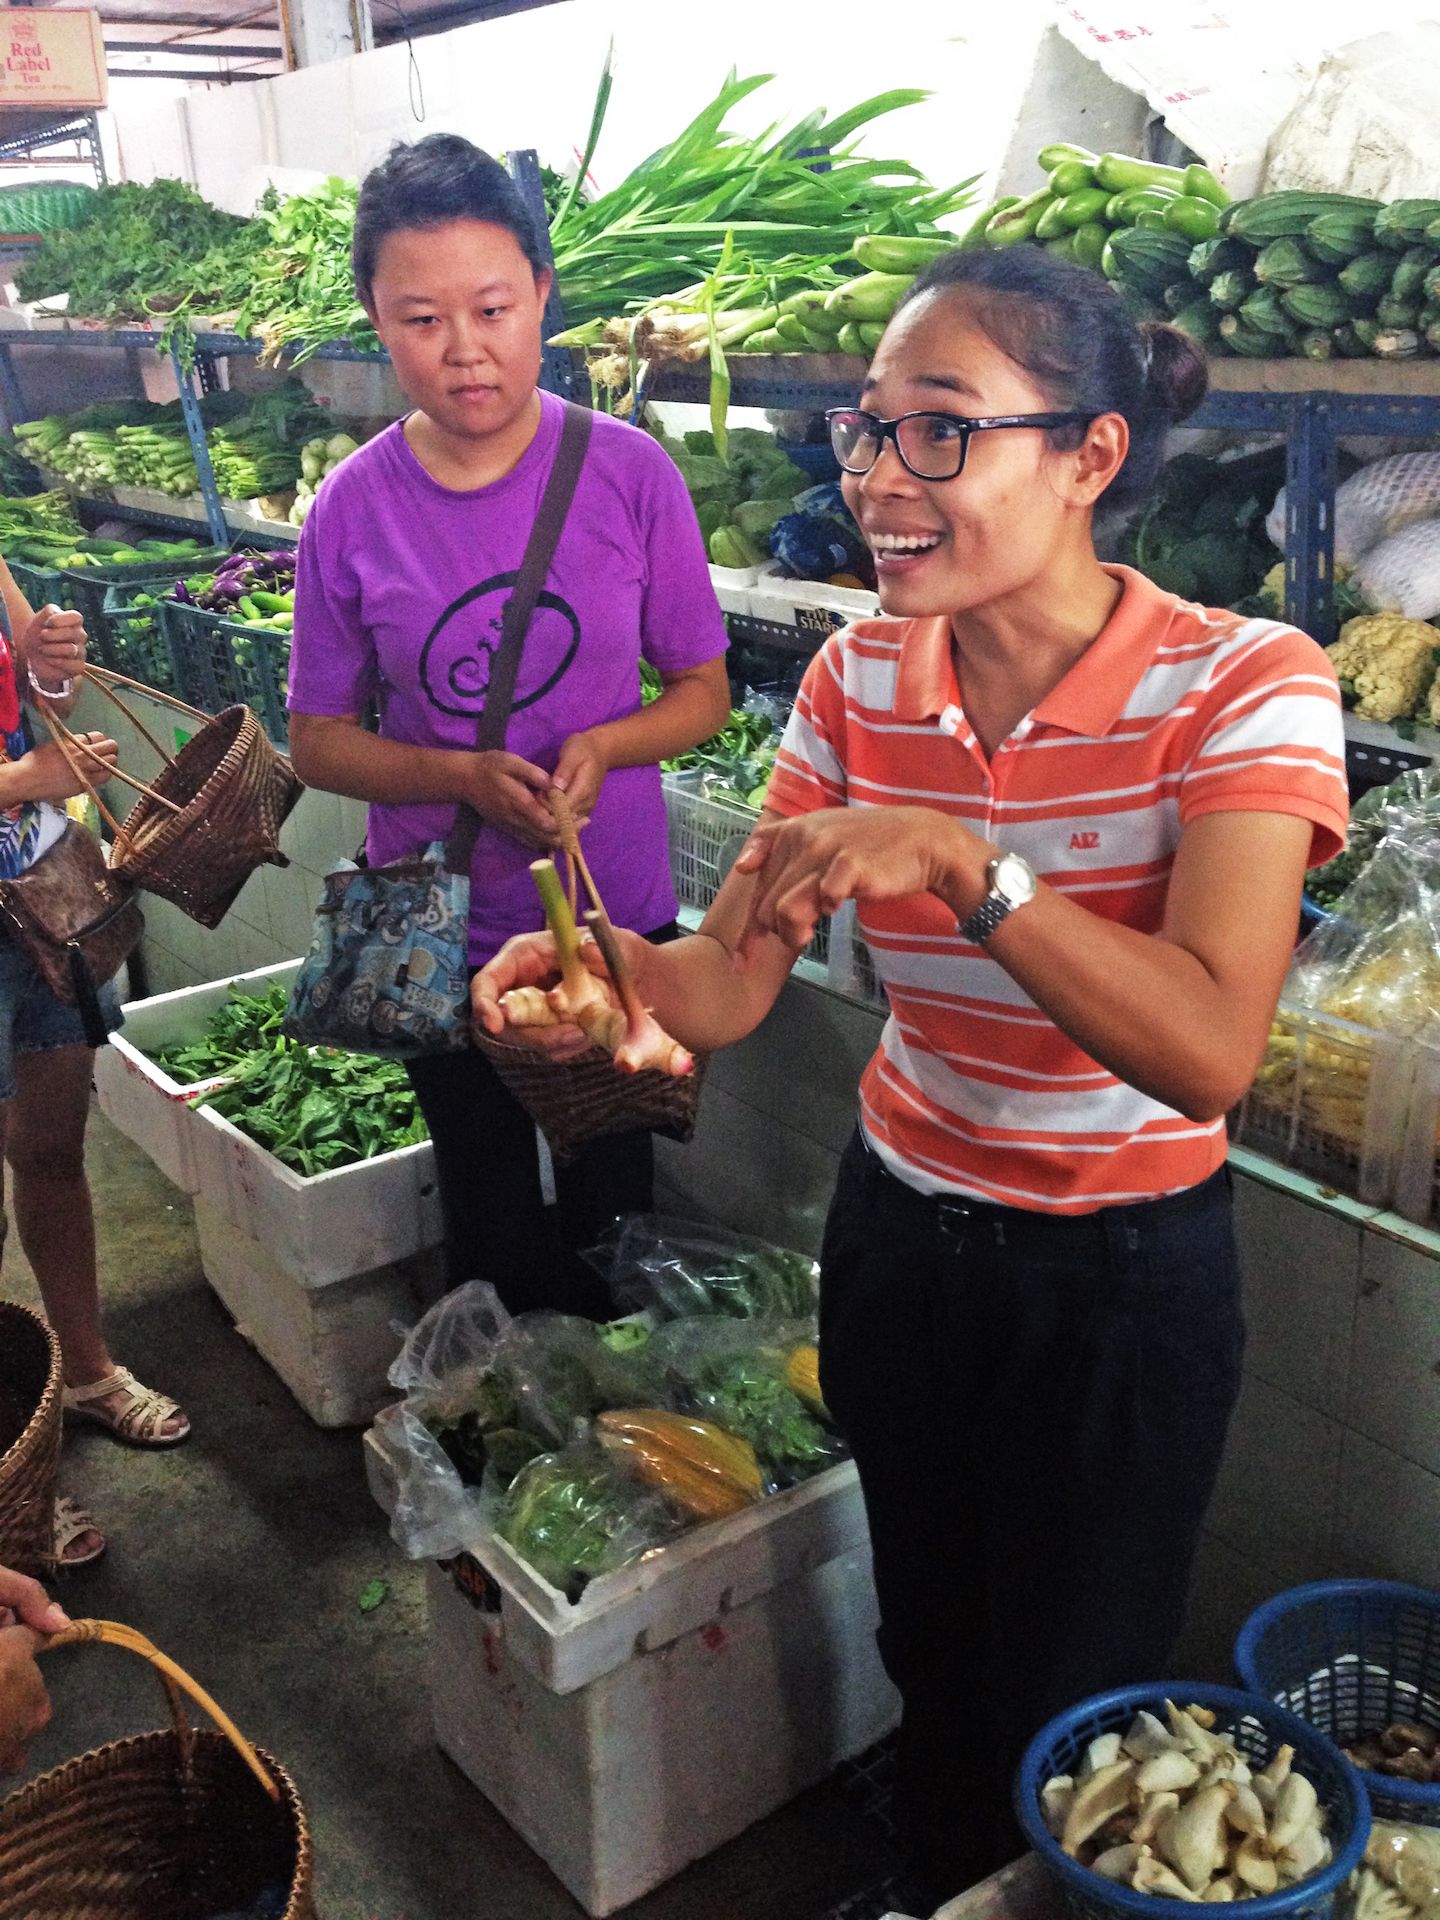
This market tour was shorter than the one in Vietnam, but equally fun. Each of us picked up baskets and walked to a nearby market. It was no Cho Hoi An, but we were in the middle of Bangkok, and a market is a market. Our teacher, Goong, did a great job of explaining different ingredients central to flavouring for all Thai dishes, mostly spices and vegetables.

We saw similar spices as we did in Vietnam like lemongrass and galangal, but also those unique to Thailand. For example, Thai garlic was smaller and not as strong as the regular garlic I’m used to. So the entire Thai garlic can simply be crushed and used entirely, without peeling or cutting or anything. Other unique Thai ingredients included Thai eggplants (looked like mini green tomatoes or large green grapes) and Thai coriander (resembled green onion shoots). The best part of the market tour was the chance to smell all the fresh ingredients – the delicious aromas made me question why we ever bother with artificial flavourings. There’s nothing that humans could create to replace the unique scent and flavour of a fresh kaffir lime.

Each of us carried one of the ingredients we discussed in our baskets and we headed to the school to start cooking!
Tom Yum Shrimp
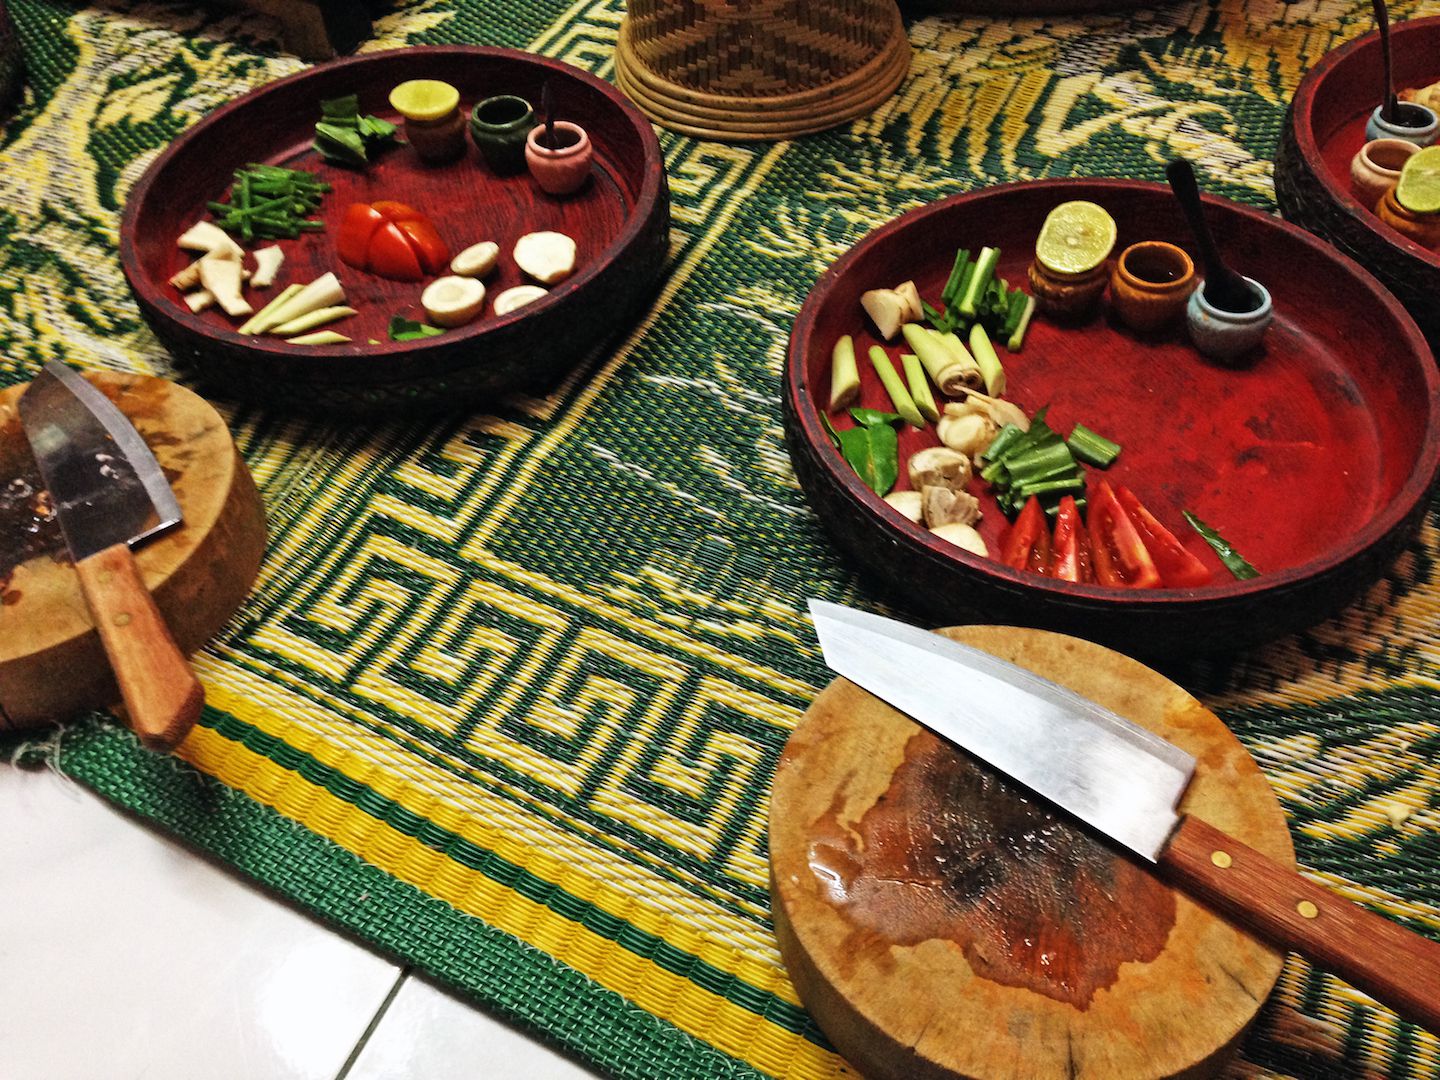
The first dish was a Thai classic, spicy and sour soup. I love tom yam chicken noodle so I was looking forward to learning how to make the soup base. First, we split into two groups, one that de-veined shrimps, while the other washed ingredients. Then we all gathered in a circle to prepare ingredients on each of our ingredient plates before heading to the kitchen.

We always discussed ingredients in terms of key ones vs. filler ones. For tom yum, we cut the key ones such as lemongrass, galangal, kaffir lime leaves, and chilies. We had our choice of two types of chilies (red and green) to customize based our own spice-tolerance level. Carlos and I both chose three red chilies (two cut for more spice, one smashed for less) and one smashed green chili (green ones are more spicy!). Fish sauce, lime juice, and chili paste were already prepared for us in tiny jars. Other filler ingredients such as mushrooms, tomatoes, coriander leaves and green onions were optional. With each of our ingredient plates, we were ready to head to the stove!

All of the cut ingredients went into the wok to be boiled in water until tender. De-veined prawns were then added. Last were the contents in the tiny jars along with coconut milk from our teacher. We had the option to add some turmeric to add more sourness. In no time, the soups were ready to be served! The cooking period was really a blur, especially as we took any extra time we had to take pictures.

My tom yum shrimp looked colorful, smelled wonderful, and tasted delicious. The heat and spice cleansed my senses while the sour taste boosted my appetite. It was the perfect start to a food-filled afternoon.

Pad Thai
The ingredients for pad thai did not need nearly as much preparation as tom yum shrimp, but only because many of the sauces and spices were already separated in tiny jars for us. If anything, pad thai is known for its long list of ingredients. Apparently even Thai people don’t bother cooking it themselves because it’s cheaper for them to eat it on the streets than to buy all the ingredients themselves. For our cooking class, all we had to do was crush some Thai garlic, and cut tofu and chives into pieces. The rice noodles had already been pre-soaked for us (not to be boiled or they will turn sticky!).

At the stove, there were a lot of ingredients to deal with. We heated oil to first fry the garlic. Then prawns, tofu, bean sprouts, and chives were added. Once the prawns were cooked, an egg was cracked directly into the wok. I was afraid the egg would stick everywhere, but some rapid stirring scrambled the egg. The teacher added noodles to each of our woks and we added the rest of the ingredients from palm sugar to tamarind paste. At this point we learned the technique for stirring the noodles. With a corner tip of the spatula, we simply spun circles in the wok. The noodles eventually softened and we switched off the heat.

Maybe it was because we used very fresh ingredients (pad thai vendors usually use pre-cooked noodles and powdered flavourings). Or maybe it was because we made it with our own hands (with effort and satisfaction bonus points). Regardless, both Carlos and I felt like it was the best pad thai we had ever had. Hopefully we will be able to replicate this in the future ourselves!

Panang Curry
We practically headed directly to the stove for panang curry. Besides cutting long string beans, the kaffir lime leaves were already shredded, and other ingredients were prepared for us. Fish sauce, palm sugar, and ground roasted peanuts filled the usual tiny jars on our ingredient plate.

The woks already had oil, red curry paste, and sliced chicken placed inside. We fired the wok until the chicken was cooked and the curry was fragrant. Our teacher spooned each of us some coconut cream and tamarind paste, while we emptied the rest of our ingredient plate into the wok. The rest of the time was spent stirring until the curry became thick. That gave us some time to take photos of each other.

Once our teacher deemed our curry to be reduced enough, we plated it and voila! I’ve never cooked curry before but it was pretty quick and easy. The panang curry was sweet and spicy; we surprisingly ate it on its own, without any accompaniments. I will have to cook and eat more curries in the future.

Green Curry
For green curry, we first learned as a class how to make green curry paste from scratch. Basically it included a lot of finely chopped ingredients ground with mortar and pestle. We each got to try and it was pretty hard work. The amazing aroma of the paste was motivating though. The moral of the story was – buy curry paste! Even Thai people do so because making fresh curry paste takes a lot of effort. Luckily for us, we had fresh green curry paste to use for our green curries.

Cooking the green curry was very similar to cooking the panang curry. The process was pretty much identical. The ingredients differed by a little – slices of Thai eggplant instead of long string beans, no ground roasted peanuts, add sweet basil and shredded finger ginger. The main difference, of course, was the green curry paste instead of red curry paste.

Being the last entree dish, this time green curry was served with rice. We were all getting full by this point but it was too good to refuse. I personally like the panang curry better, but the green curry had a different flavour profile. Normally I’m not a huge fan of curry, but considering I enjoyed two curry dishes in a row, it’s definitely growing on me.

Mango Sticky Rice
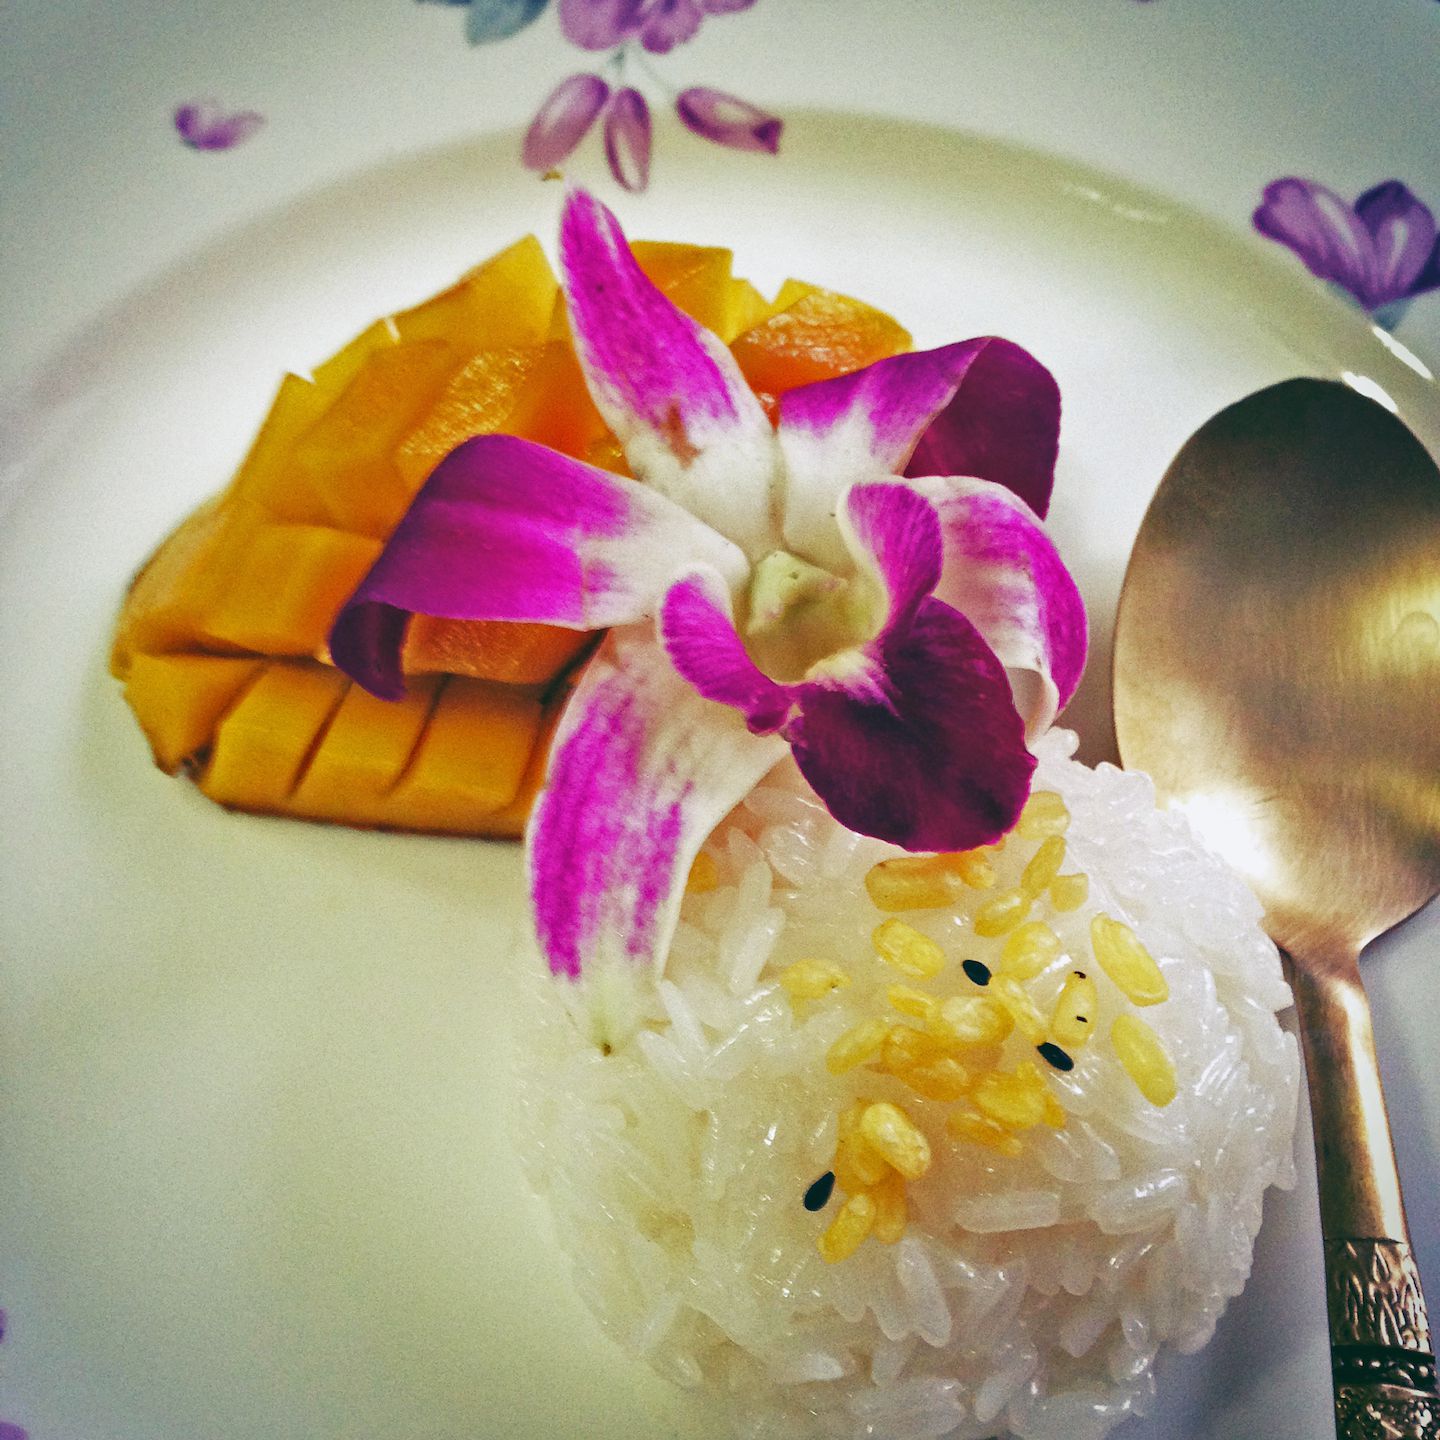
Last but certainly not least, we had mango sticky rice for dessert. The dish was exactly as it sounds, sticky rice with fresh mangoes on the side. Preparation mainly centered around creating coconut milk for the sticky rice. We grated coconut, added warm water, and massaged the coconut until the water became infused with coconut milk. Then we filtered out the milk. Repeat. I was surprised by how much coconut milk we made in a few minutes.

The rest of the dish was demonstrated by our teacher. She discussed how to cook the sticky rice, especially using a Thai-style steaming tray. Later on, she showed us how to mix the coconut milk with already-made sticky rice. Even though we didn’t physically cook the entire dish ourselves, I still felt like I got a good grasp of how to make it. All that was left for us to do was enjoy the beautifully garnished dessert.

Our Thai cooking class taught me that Thai food was a lot easier to make than I had initially thought. Most of the ingredients can simply be bought directly from the market, with some minimal preparation such as cutting. As long as all the ingredients were ready, the cooking was always fast, within minutes. Of course, all of the dishes we made were delectable. We received a nicely organized book of recipes as a parting gift and I can’t wait to try those out myself!
For more pictures from our Thai cooking class, please visit the gallery!

